We have all been there. You order a batch of custom T-shirts for an event, a business launch, or a family reunion, and the excitement turns to disappointment the moment you open the box. Maybe the logo looks pixelated, the colors are dull, or the print feels like a thick layer of plastic glued to the chest. Worse yet, after one wash, the design starts to crack or peel.
Getting the best T-shirt printing isn’t just about finding the cheapest provider or the first website that pops up on Google. It is a mix of art and science. It requires understanding how digital designs translate to physical fabric, knowing which printing method suits your specific needs, and selecting the right garment to serve as your canvas.
Whether you are a seasoned merchandise manager or planning your first custom order, the difference between a shirt that ends up in the donation bin and one that people wear for years lies in the details. This guide covers everything you need to know to ensure your next print job is flawless.
It Starts With the Canvas: Choosing the Right Fabric
Many people obsess over the logo but treat the shirt itself as an afterthought. This is a critical mistake. The fabric you choose dictates not only how the shirt feels but also how well it holds the ink.
100% Cotton
Cotton is the standard in t-shirt printing for a reason. It is soft, breathable, and generally affordable. However, not all cotton is created equal.
- Carded Open End: This is the rougher, cheaper cotton found in promotional giveaway shirts. It is durable but not soft.
- Ring-Spun: This yarn is spun to soften and straighten each fiber. The result is a smoother surface that is much better for printing detailed designs.
- Combed and Ring-Spun: The highest quality option. Impurities are combed out, leaving a surface so smooth it prints like paper.
Polyester and Performance Blends
Polyester is synthetic, durable, and moisture-wicking. It is ideal for sports teams and uniforms. However, printing on polyester requires specific techniques. If you use standard inks on polyester without the right blockers, the dye from the shirt can migrate into the ink, turning your bright white logo a dull pink or grey.
Triblends
Triblends are a mixture of cotton, polyester, and rayon. They are incredibly soft and have a vintage, heathered look. Because of the fabric’s texture, prints on triblends often look slightly faded or “retro.” This is a stylistic choice you need to be aware of before ordering.
The Foundation of Quality: Art File Preparation
The most common reason for a poor print is a low-quality source file. A printer cannot magically fix a blurry image. If you send a low-resolution file, you will get a low-resolution print.
Vector vs. Raster
To get the crispest lines, you should aim to use vector files (AI, EPS, SVG). Vector graphics are made of mathematical equations rather than pixels. This means they can be scaled up to the size of a billboard without losing any clarity. This is the gold standard for screen printing.
If you must use a raster image (JPG, PNG, TIFF), resolution is key. The industry standard is 300 DPI (dots per inch) at the actual print size. If you want a 10-inch wide logo, your file needs to be 10 inches wide at 300 DPI. Taking a small image from Instagram and stretching it will result in a blocky, amateurish mess.
Choosing the Right Printing Method
There is no single “best” printing method. The right choice depends on your design, your quantity, and your fabric. Understanding the strengths and weaknesses of each technique will help you make the right call.
Screen Printing
This is the traditional method and remains the industry standard for high-quality, durable prints. Ink is pushed through a mesh screen onto the fabric, one color at a time.
- Best for: Large orders (24+ pieces), simple designs with limited colors, and durability.
- Pros: The ink bonds deeply with the fabric. The colors are vibrant and opaque, even on dark shirts. It becomes very cost-effective at high volumes.
- Cons: Setup is time-consuming and expensive. It is not suitable for small orders or photographic designs with endless color gradients.
Direct-to-Garment (DTG)
Think of DTG like a giant inkjet printer for clothes. The machine sprays water-based ink directly into the fibers of the garment.
- Best for: Small orders (1-20 pieces), highly detailed designs, photos, and complex color gradients.
- Pros: No setup fees means you can print a single shirt affordably. The print feels very soft because the ink soaks into the fabric (especially on white shirts).
- Cons: It is slower and more expensive per unit on large orders. The prints are generally not as durable as screen printing and can fade over time. It works best on 100% cotton; results on polyester can be lackluster.
Direct-to-Film (DTF)
This is the newest challenger in the industry and is rapidly gaining popularity. The design is printed onto a special film, coated with a powder adhesive, and then heat-pressed onto the shirt.
- Best for: Difficult fabrics (nylon, polyester, fleece), small-to-medium runs, and vibrant full-color designs.
- Pros: It combines the color range of DTG with the durability of screen printing. It sits on top of the fabric, so the colors remain bright regardless of the shirt material.
- Cons: The print has a slightly plastic-like feel (often called “hand feel”). Large solid blocks of design can feel heavy and unbreathable (a “sweat patch”).
Dye Sublimation
This is a chemical process where the ink turns into gas and bonds with the polyester fibers.
- Best for: All-over prints and performance jerseys.
- Pros: The print is imperceptible to the touch. It will never crack or peel because it is physically part of the fabric.
- Cons: It only works on 100% polyester light-colored fabrics. You cannot sublimate on a black cotton t-shirt.
Placement and Sizing Considerations
A great print in the wrong place looks terrible. Standard placement helps, but you must consider the garment size range.
The “Belly Print” Mistake
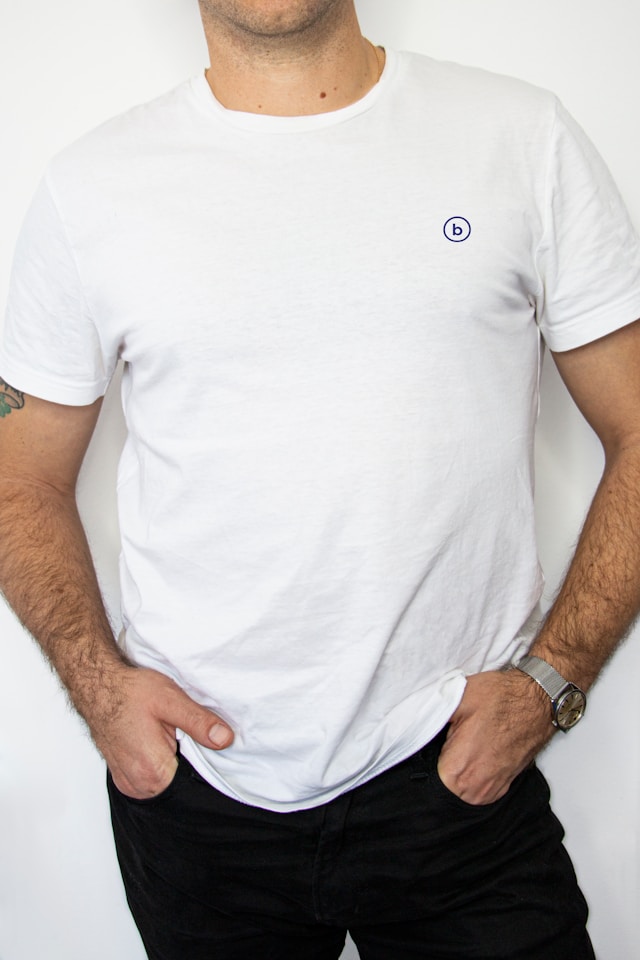
A common amateur error is printing the design too low. A standard chest print should start about 2 to 3 inches down from the collar. If it is lower, the design ends up on the stomach, which is unflattering and looks awkward.
Grading Your Art
If you are ordering a size range from XS to 4XL, printing the exact same screen size on every shirt can be problematic. A 12-inch wide logo looks great on a Large but will wrap around the ribcage of an Extra Small. Conversely, a logo sized for a Small will look like a postage stamp on a 3XL.
For the absolute best results, ask your printer about “grading” the art. This might involve creating two sets of screens—one for smaller sizes and one for larger sizes. It costs more, but it ensures the visual proportion remains consistent across the board.
How to Vet a Printing Partner
The machinery matters, but the operator matters more. Here is how to tell if a print shop is capable of delivering high-quality work.
Check Their Portfolio (Real Photos)
Ignore the digital mockups on their website. Look for photos of actual finished products. Zoom in on the edges of the print. Are they crisp? Is the white ink bright and solid, or does the shirt color show through?
Ask About Their Ink System
For screen printing, high-quality shops often use a “white underbase.” If you are printing yellow ink on a black shirt, the yellow will look muddy without a layer of white underneath it. A cheap shop might skip the underbase to save money, resulting in a dull print. Ask specifically: “Will you be using an underbase for this dark garment?”
Request Samples
If you are planning a large order (100+ shirts), never go in blind. Ask for a pre-production sample. You will likely have to pay for this, but it is better to spend $50 to see one shirt than $1,500 on boxes of shirts you can’t use. If a physical sample isn’t possible, demand a high-resolution photo of the first print off the press before they run the rest.
Price vs. Quality: Where to Spend and Where to Save
Budgets are real, but cutting corners often leads to waste. Here is how to balance cost and quality.
Where to Save:
- Reduce Colors: In screen printing, every color adds to the cost. Simplifying a 6-color logo to a 2-color version can save you significant money without sacrificing impact.
- Order in Bulk: Price breaks usually happen at 24, 48, 72, and 144 units. Ordering 45 shirts might cost the same total amount as ordering 48 because of the price drop.
- Print Locations: Stick to one location (front or back). Adding a sleeve print or a custom inside tag adds setup and run charges.
Where to Spend:
- The Fabric: Spending an extra $1.50 per shirt for premium ring-spun cotton makes a massive difference in how often the shirt is actually worn.
- The Underbase: As mentioned, never skimp on the white underbase for dark garments.
- Vectorizing Services: If your art is low quality, pay the small fee (usually $15-$30) to have a graphic designer redraw it as a vector.
Frequently Asked Questions
Why does my print look thick and rubbery?
This usually happens in screen printing when a printer applies too much Plastisol ink without modifying it. To avoid this, ask for “soft hand additives” or discharge inks. Discharge ink removes the dye from the fabric and replaces it with pigment, leaving a print with zero texture.
How long should a good print last?
A quality screen print should last as long as the shirt itself. DTG prints usually remain vibrant for 30-50 washes if treated well. To extend the life of any print, wash the shirt inside out in cold water and hang dry. Heat is the enemy of printed ink.
What is the best file format for printing?
Vector files like .AI (Adobe Illustrator) or .EPS are always preferred. If you only have pixel-based art, a .PSD (Photoshop) or .PNG with a transparent background at 300 DPI is acceptable. Avoid sending Word documents or low-res JPEGs saved from a website.
Can I print a photograph on a T-shirt?
Yes, but you need to choose the right method. Screen printing a photo requires a complex technique called “Simulated Process,” which separates the photo into tiny halftone dots. This is expensive and only worth it for large runs. For smaller orders, DTG or high-quality DTF are better options for photographic realism.
Your Next Steps for Perfect Prints
Getting the best T-shirt printing is about communication and preparation. Don’t just upload a file and hope for the best. Talk to your printer. Ask about the fabric content. Double-check your file resolution.
By focusing on the “Holy Trinity” of printing—the right garment, a high-quality art file, and the correct printing method—you guarantee a product that looks professional and stands the test of time.
Ready to start your project? Begin by auditing your artwork files today. If you cannot zoom in on your logo without seeing pixels, fix that first. Your future self (and your budget) will thank you.